How To Paint An RV Exterior?
It’s that time of year, RVers – maintenance season! Time to give your RV a fresh coat of paint.
I’ve put together a simple guide to show you exactly how to paint the exterior of your RV.
(And I’ll help you avoid as many headaches as possible!)
You’ll need a few tools for the job, and of course, the right paint.
Don’t worry, I’ll explain how to choose the best paint too.
From start to finish, I’ll walk you through every step!
I’ve had my fair share of bad paint jobs, followed by much better ones.
I’m here to save you from the same frustration. At RVProperly, we make sure our RVs get only the best.
No more talking, just great results.
Painting a room is tough enough, but painting an entire RV?
Let’s make it as smooth as possible. Get ready to paint like a pro.
DIY RV Exterior Paint vs. Hiring Professional Painters
Let’s start by answering a common question: Should I paint my RV myself?
It’s a fair question, and the answer depends on what you’re looking for.
Both doing it yourself and hiring a professional have their ups and downs.
You might even prefer to just hire someone and avoid the hassle altogether.
Hiring a professional painter means you don’t have to worry about a thing.
They’ll take care of everything, and if they do their job well, your RV will look great and last a long time.
Professionals have the right tools and skills to handle tricky designs and the tough exterior of an RV, plus they often use better quality paint.
But, here’s the downside: it’s really expensive.
And if the painters don’t do a good job, it could be a huge disappointment.
On the other hand, if you decide to paint your RV yourself, it’s a lot cheaper—about 50-70% less expensive, according to people in the RV community.
If you like being hands-on and in control, this option might appeal to you.
You get to make all the decisions and, in the end, there’s a real sense of pride in driving around in an RV you’ve personally worked on.
Sure, there might be a few imperfections, but that’s part of the fun!
So, if you have a spare $5,000 to $15,000 for professionals, go ahead and treat yourself.
But if you’re looking to save some money, it might be time to roll up your sleeves and dive into a DIY project.
How to Choose An RV Exterior Paint?
Before picking a paint for your RV, here’s something to think about.
RVs face all kinds of weather – sun, rain, wind, road debris, snow, and maybe even lava if you’re unlucky.
So, you’ll need a paint that can handle it all.
The better the paint, the less often you’ll need to repaint.
When choosing paint for the outside of your RV, look for two things: durability and flexibility.
If you’re on a budget and planning to do it yourself, acrylic-latex house paint is a good option.
It’s weather-resistant and can handle the way your RV expands and contracts with temperature changes, and it’s also affordable.
However, if you want the best of the best, go for automotive-grade paints like urethane or polyurethane.
These provide a high-quality finish that rivals what professionals use.
These paints are great for metal RVs too.
No matter which paint you choose, make sure it’s UV-resistant.
This will help prevent fading and sun damage.
Brands like Dicor and Rust-Oleum are popular in the RV community for their tough coatings and touch-ups.
But for a full exterior job, consider using brands like PPG, Sherwin-Williams, or Behr for their high-quality finishes.
If your RV has a fiberglass exterior, make sure to apply an epoxy-based primer before painting.
This helps the paint stick properly.
And finally, the most important tip – always check that the paint is meant for outdoor use and works with your RV’s material.
You’d think this is obvious, but you’d be surprised how many people forget.
Tools For Painting Your RV
Now, let’s keep going. There are a few things you need, and some you might forget.
To avoid any last-minute trips to the hardware store during your RV maintenance, I’ve put together a list of all the gear you’ll need for painting your RV.
No need to rush to the store—get everything you need right here.
RV Sealant
In addition to cleaning, sealing your RV is also essential.
Sealing the joints and cracks before you paint is very important. It helps prevent leaks and damage later on.
Without a good sealant, moisture can get in, causing the paint to wear off faster.
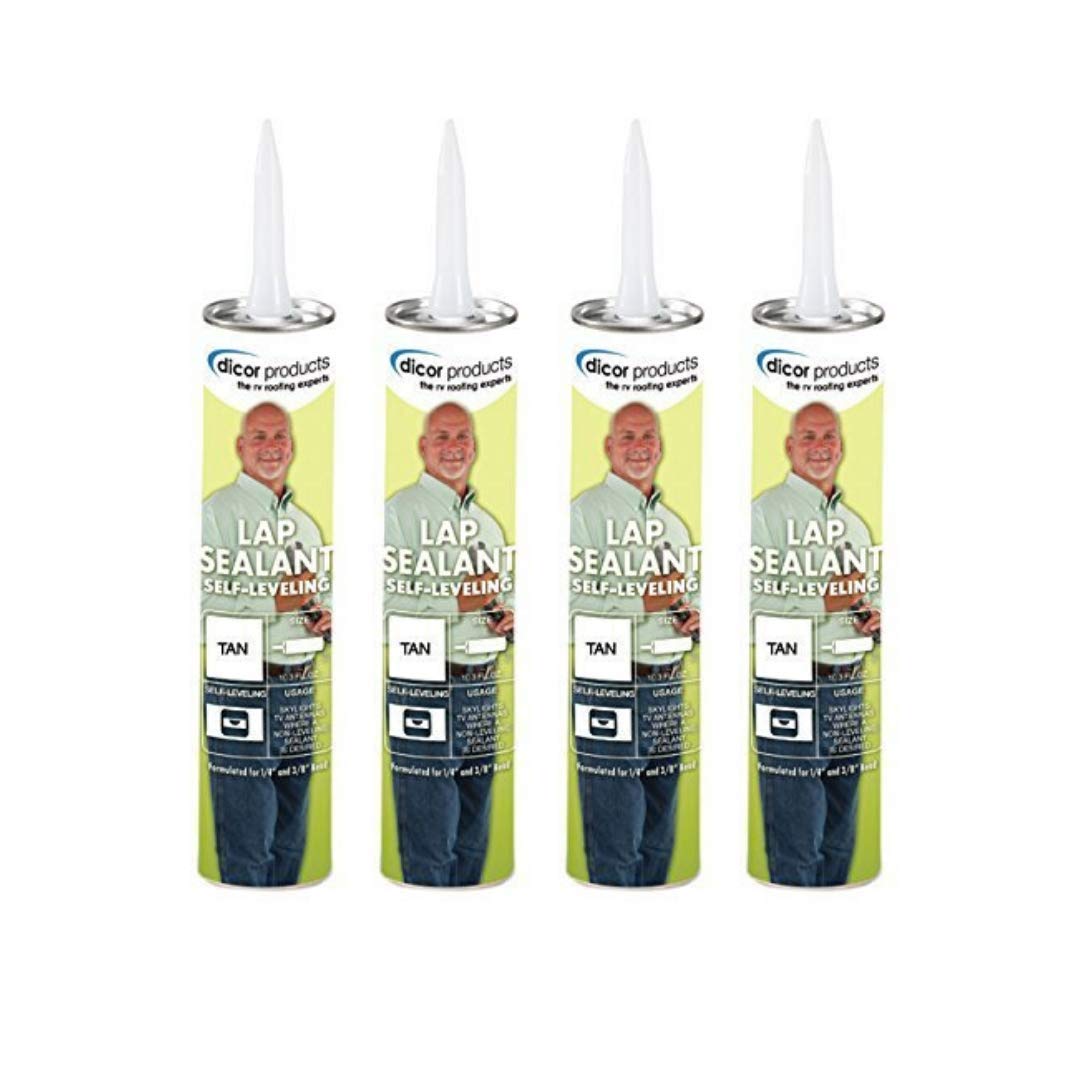
Dicor Lap Sealant is one of the best for this job.
They’re not just a well-known paint brand—they do a lot more.
Dicor’s Lap Sealant is made specifically for RV roofs.
It creates a waterproof seal around areas like vents, skylights, and other spots that could leak.
It’s also flexible, adjusting to your RV’s movements and changes in the weather.
And here’s a bonus: this is a 4-pack.
While you might not need all of it right away, it’s great to have extra for later.
RVs require regular maintenance, so you may find yourself sealing cracks again sooner than you think.
Overall, Dicor makes great sealant, just like their paint.
No complaints here. Now, let’s move on to the next task.
RV Cleaner
When it comes to getting things right, proper surface preparation is key, and it all starts with a good, thorough cleaning.
Dust, dirt, and old wax can ruin even the best paint job if you don’t take care of them.
That’s why it’s so important to have a quality cleaner.
A good cleaner makes sure the surface is clean and ready for paint, helping it stick better and giving you a smooth, long-lasting finish.
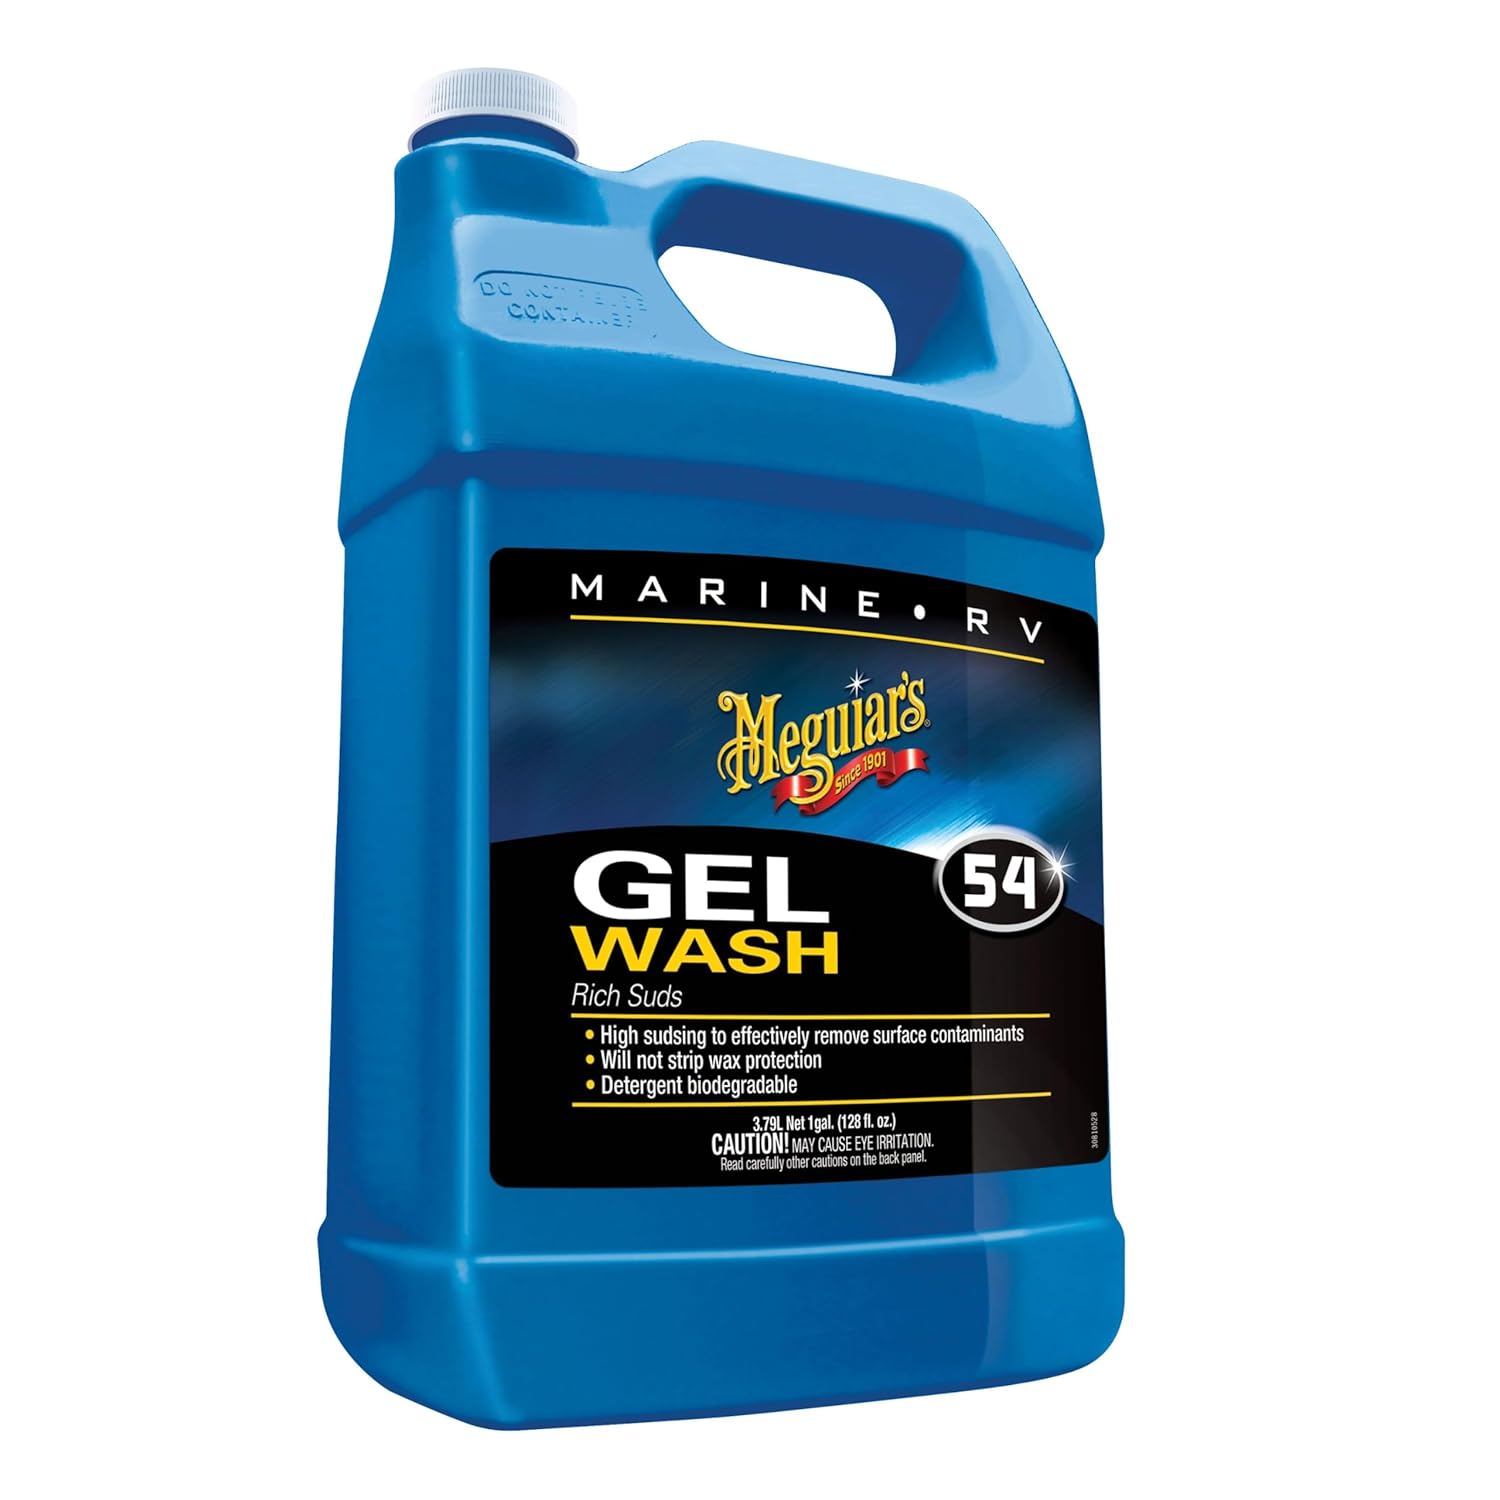
For this, I highly recommend Meguiar’s Marine/RV Gel Wash.
It comes in a one-gallon size and is perfect for fiberglass and gel coat surfaces.
This cleaner is tough on dirt but gentle on your RV’s surface, preserving its natural shine.
The thick gel formula sticks to surfaces, lifting off dirt and leaving a shiny finish.
It creates a lot of suds and costs less than 30 cents per ounce—what more could you want?
Give Meguiar’s a try. Don’t let the bubbles fool you.
Edging Paint Brushes For Latex Paint
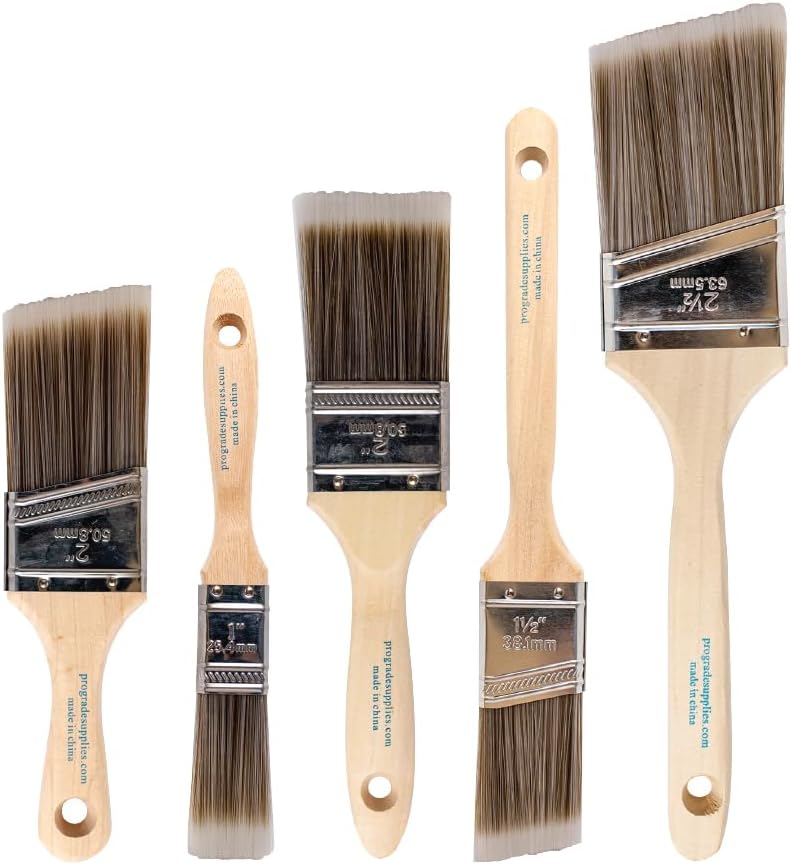
Trims and edges can test your patience when painting an RV.
There are so many corners, trim pieces, and small details to handle, and precision is crucial.
That’s why a good edging paintbrush can make all the difference.
These brushes help you tackle those tight spots with ease, giving you neat and sharp lines around your RV.
A great choice for this kind of work is the 5-pack of Pro-Grade Edging Paint Brushes.
They’re made for latex paint, which is the go-to for most RV DIY projects.
These brushes provide smooth, even coverage and give you excellent control over the smaller details.
Their angled tips make painting around windows, vents, and door trim a breeze, all without needing any tape.
Plus, the synthetic bristles hold just enough paint to minimize annoying drips.
Using the wrong tools can make any project frustrating, so it’s important to choose the right ones for the job.
Standard paintbrushes or spray paint just won’t cut it for an RV project.
The Pro-Grade set is a solid choice if you want a professional-looking finish.
320 Grit Sandpaper
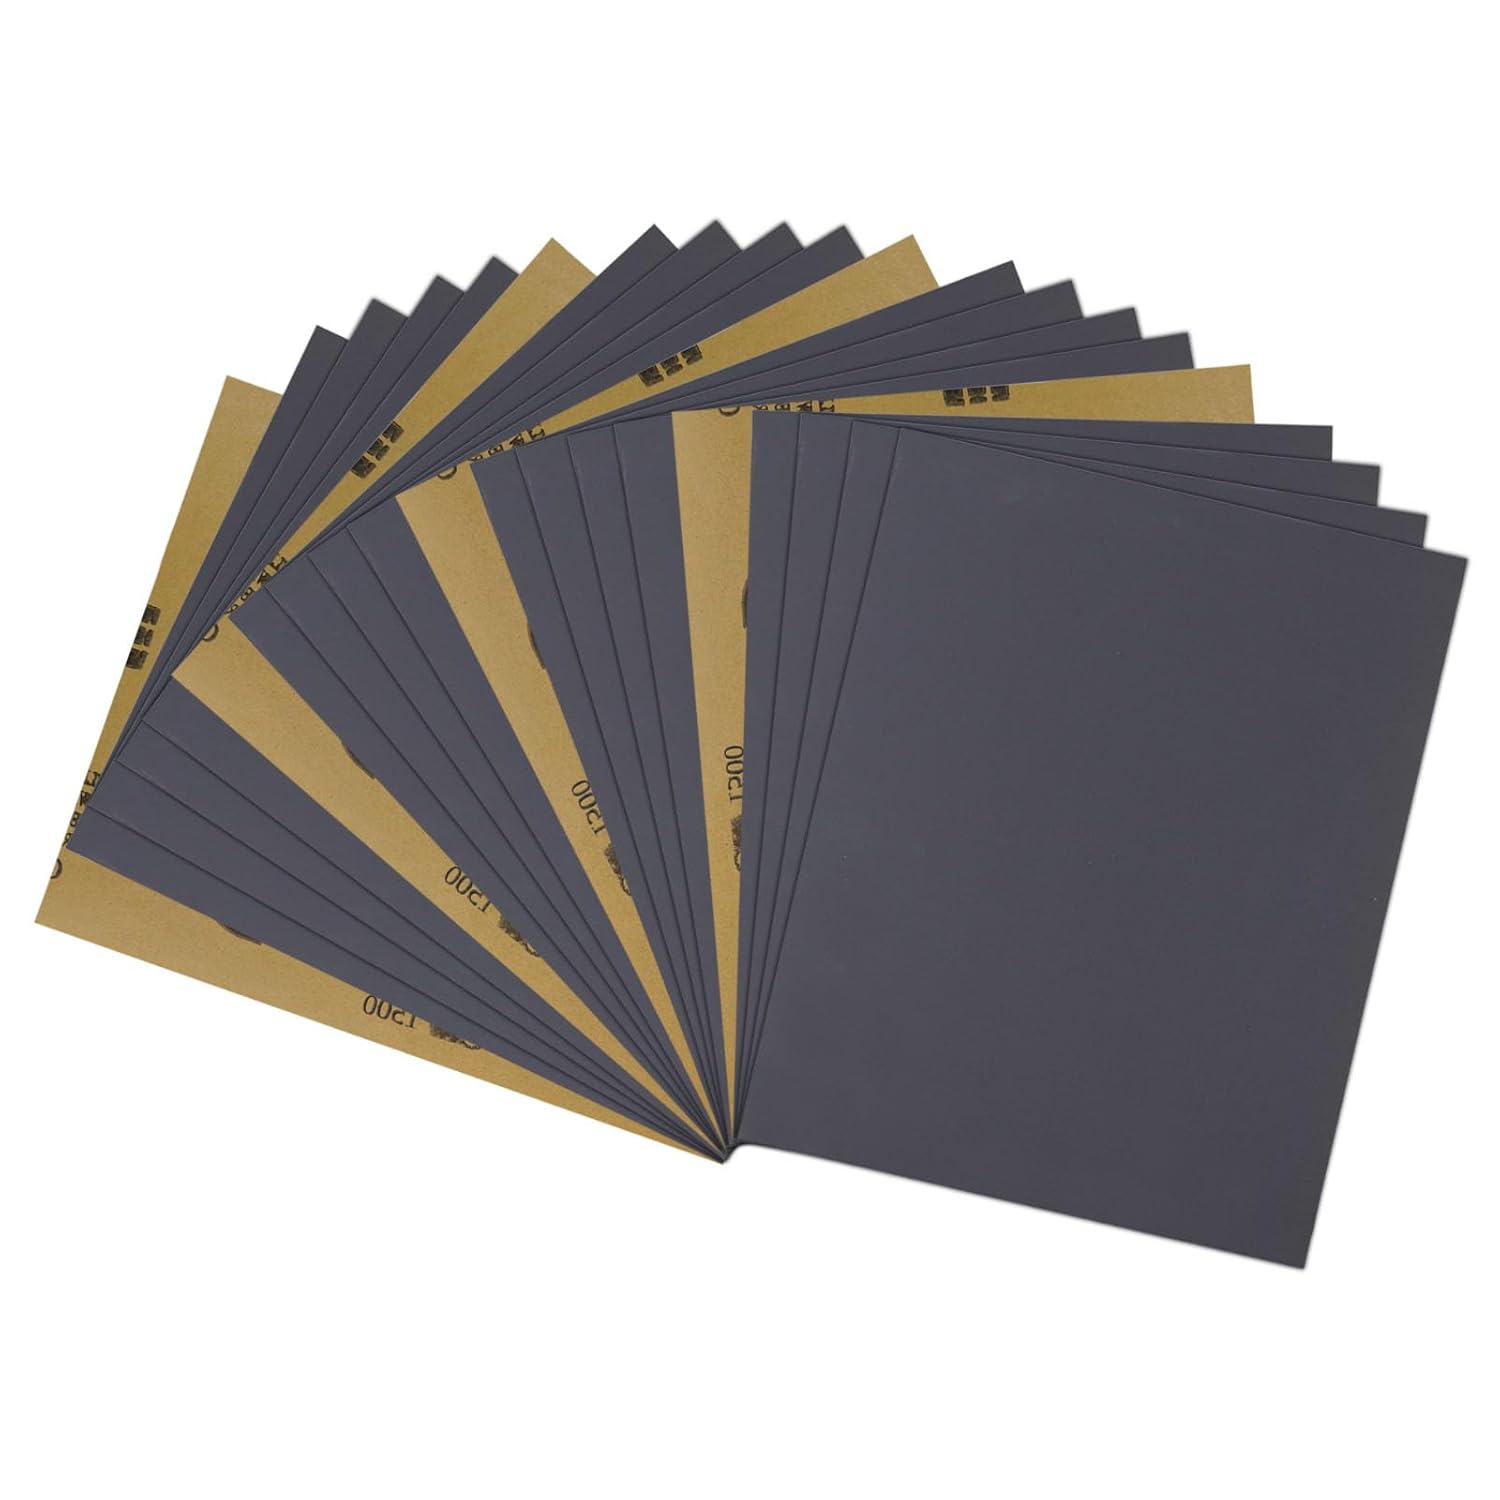
When it comes to sanding, you’ll want to use different levels of grit for the best results.
I suggest 320-grit sandpaper, but there are many options out there.
For prepping an RV’s exterior before painting, I recommend:
- 80 to 120 grit: Good for the first round of sanding if you need to remove old paint or smooth out rough spots.
- 220 to 320 grit: Perfect for leveling the surface after the first round of sanding or for lightly scuffing areas that don’t need much work.
- 400 to 600 grit: Ideal for final sanding before painting, especially after you’ve applied primer. This creates a smooth surface that helps the paint stick better. Skipping this step could make your paint look uneven.
MAXMAN Automotive Sandpaper is great for getting your RV ready for a new coat of paint.
It’s designed for cars, so it works well on metal, fiberglass, and primer.
Plus, it resists clogging, which means it will hold up during longer sanding projects—perfect for big jobs like an RV.
It’s a good idea to have a variety of sandpaper grits on hand. Don’t just rely on 320 grit; using different levels of sandpaper can make a huge difference in the final look.
Sanding is essential, just like a workout you can’t skip!
MAXMAN Automotive Sandpaper is my top choice for this task.
Paint Rollers
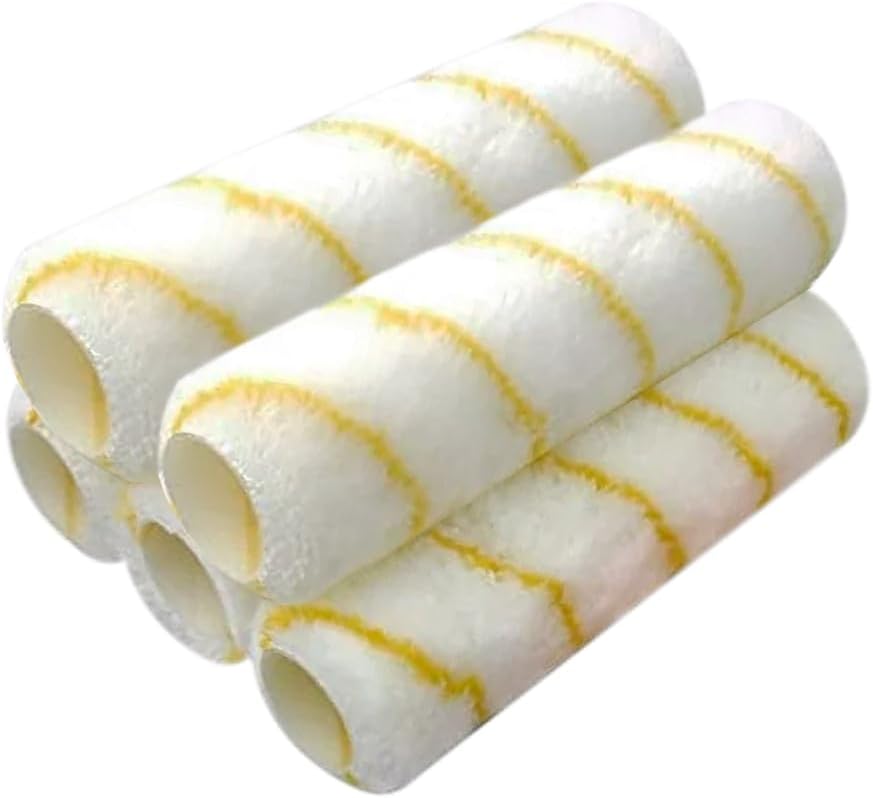
Painting an RV can be a big job, but using the right tools makes it much simpler.
Instead of struggling alone, a paint roller can save the day.
Paint rollers are great for covering large, flat areas quickly.
Surfaces like the RV’s roof, walls, or side panels can be painted in no time, without the streaks that brushes can leave behind.
For an even smoother job, try the Pro-Grade Paint Roller Covers.
These microfiber covers are designed to apply paint evenly on different surfaces, like fiberglass and metal.
They’re also lint-free, so you won’t have to worry about fibers shedding and they work well with latex paints.
They’re affordable, fast, and much better than small brushes—cutting painting time by 50-75%.
Paint rollers aren’t just an improvement; they’re a Pro-Grade choice.
Paint Tray And Liners
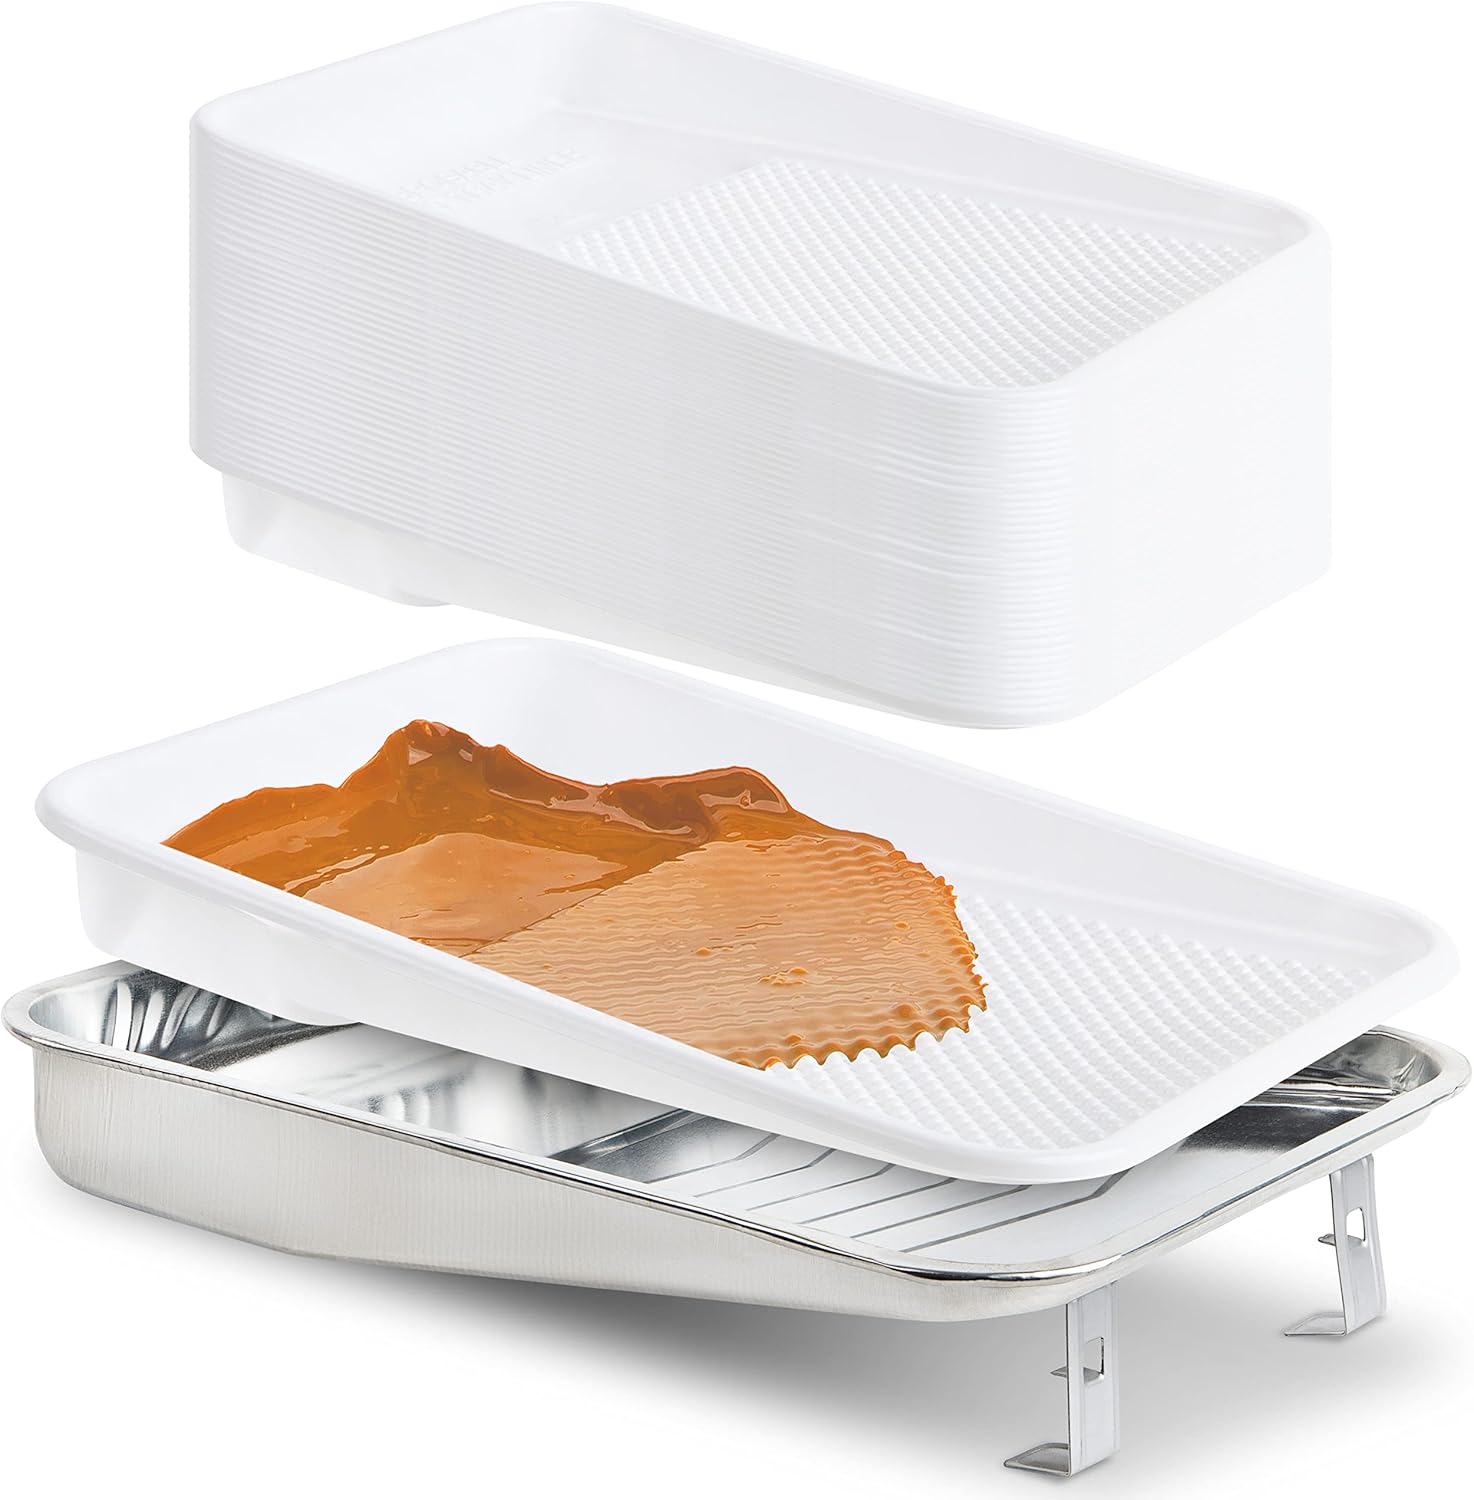
Pour the paint into a tray for a smooth and clean job! Dipping straight into the paint can is outdated.
A paint tray, along with liners to protect it, keeps your RV painting organized and tidy.
It’s also the best way to load paint rollers evenly for a smooth finish.
I recommend Unvert’s Reusable Paint Tray and Liners.
The metal tray feels much sturdier than the plastic one.
It’s durable, reusable, and 20% less likely to create a mess if you accidentally step on it.
The deep well design of the tray holds a lot of paint, reducing trips back to the can.
It also comes with 40 disposable liners, which keep the tray clean and cut down on messy clean-ups.
These are the essentials for painting an RV.
I’ve scrubbed enough after painting to appreciate anything that makes clean-up easier, like these liners.
Now, let’s deal with any spills that might happen.
Handles For Paint Rollers
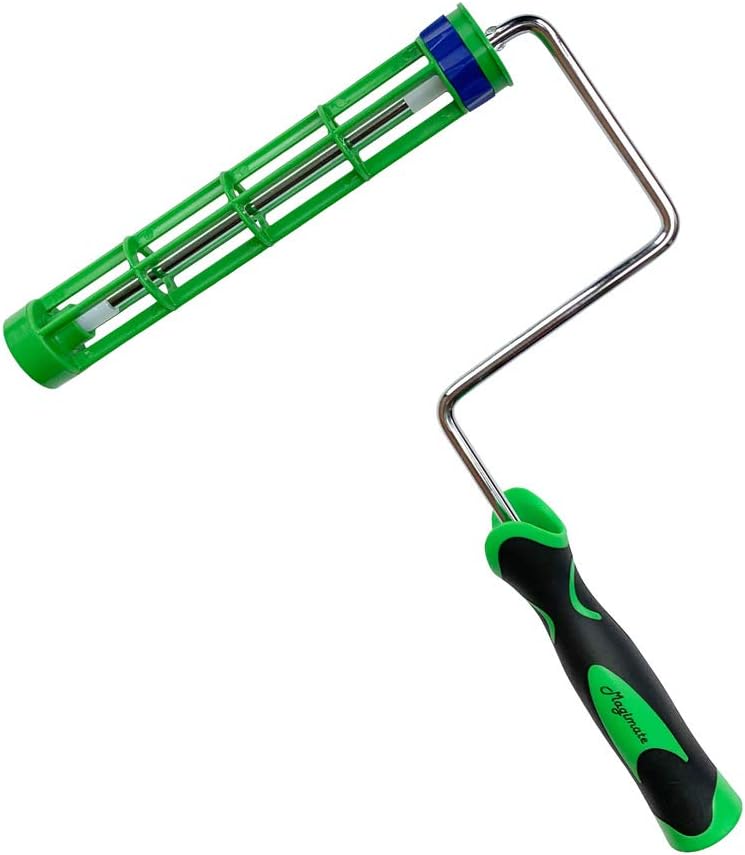
You can’t use paint rollers without handles! Unless you’re planning to roll them by hand, which would be like fingerpainting your RV.
Just like brushes, rollers need handles to get the job done.
To solve this problem, you can equip your Pro-Grade Rollers with the Magimate Paint Roller Handle.
All jokes aside, these handles are high quality at a very reasonable price.
They have a comfortable, non-slip grip that fits well in your hand and is designed to prevent fatigue, even with long use.
What I appreciate most is the flexibility Magimate offers.
Although the handles themselves aren’t adjustable, they have a universal design.
The threading in the handle allows you to attach a universal extension pole or even some broom handles.
This makes it easy to paint hard-to-reach areas on an RV without spending a lot of money.
In short, it’s an affordable fix for the problem of painting without a proper handle.
Now, all that’s left is to get a container for your paint.
Painters Tape
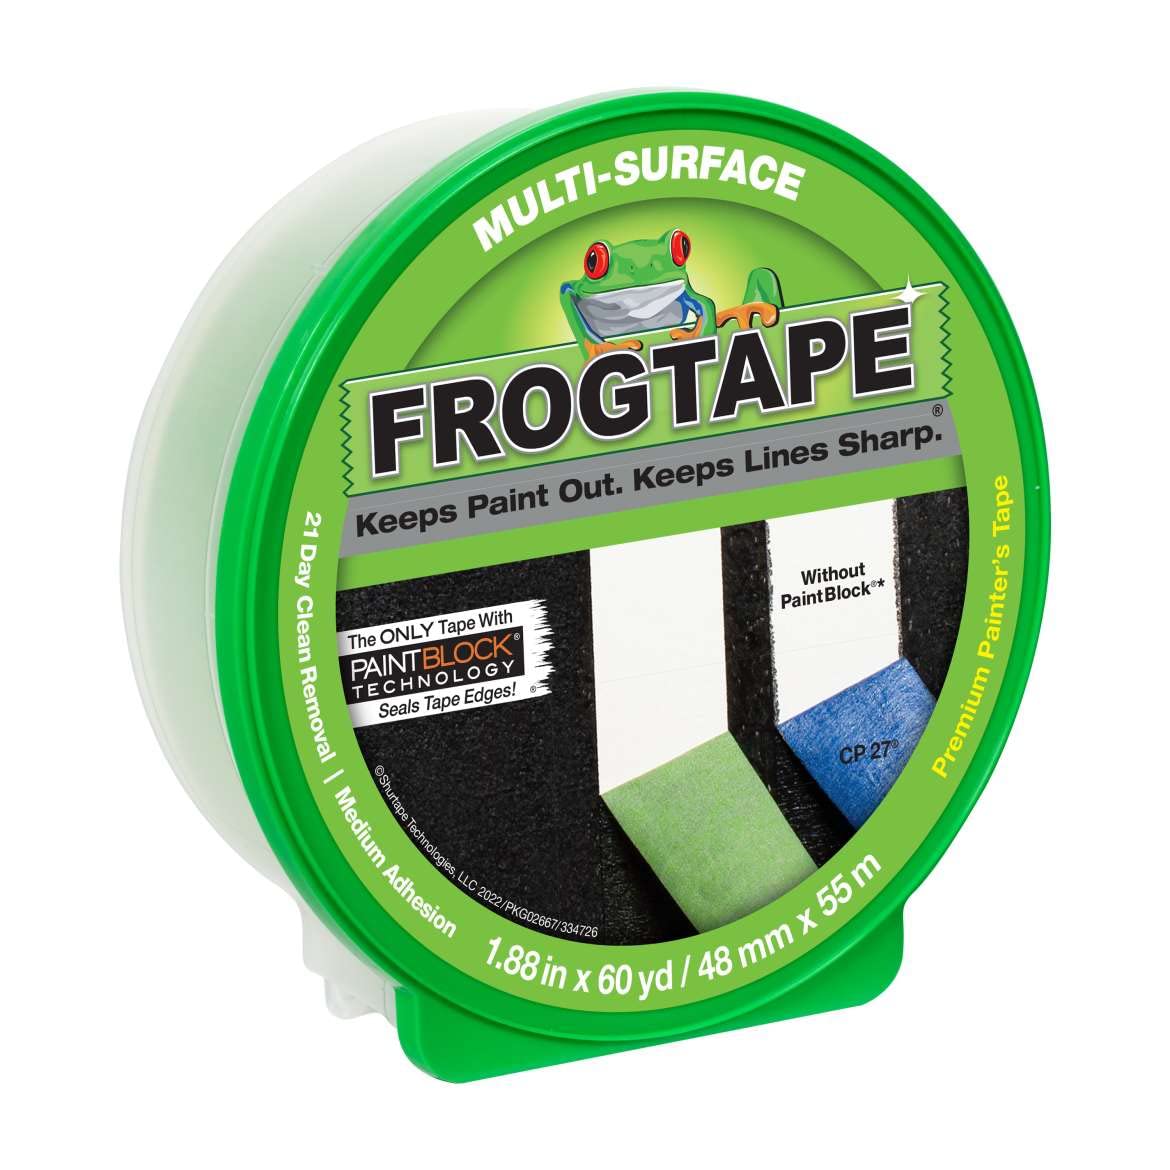
When it comes to getting clean, professional-looking paint lines, an edging brush alone just won’t do the trick.
To get those sharp edges at a DIY level, you need painter’s tape.
For that job, FrogTape’s Multi-Surface Painter’s Tape is the best choice.
It’s specially designed for tricky paint projects.
FrogTape uses PaintBlock Technology, creating a tiny barrier at the tape’s edges to prevent paint from seeping underneath.
This tape works on many surfaces, like metal and fiberglass, and it comes off easily without leaving a sticky residue.
It’s a reliable way to get those sharp, neat lines, especially around tricky spots like your RV’s doors, windows, and vents.
Adding painter’s tape, especially FrogTape, to your painting tools makes a big difference.
It helps you get top-quality results with fewer touch-ups.
Pair it with a set of edging brushes, and painting becomes a much smoother task.
Drop Cloth
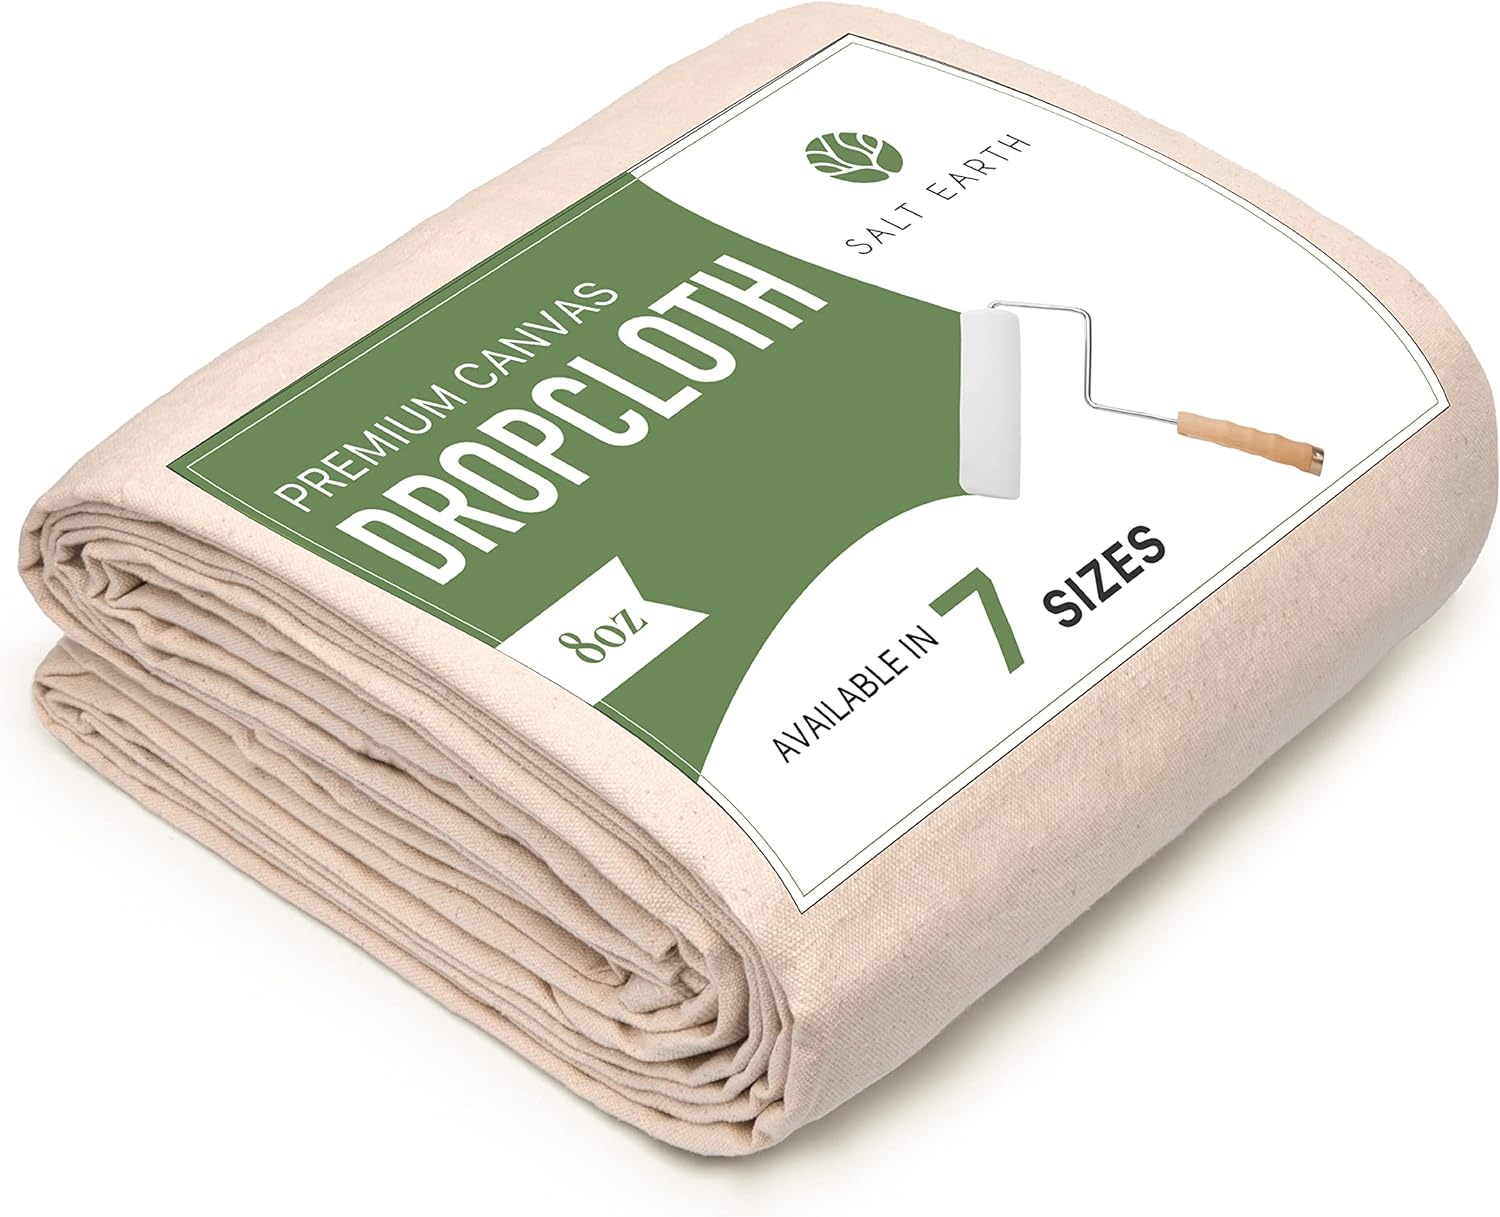
Paint can get messy. It drips, spills, and splatters, so it’s smart to protect your workspace with a drop cloth.
I’ve spent a lot of time cleaning up paint messes, and I’ve used plenty of drop cloths.
From my experience, this reusable drop cloth is much better than any flimsy, single-use plastic cover.
Why settle for a cheap plastic sheet when you can get something stronger and more reliable?
The Salt Earth Reusable Drop Cloth is a sturdy, heavy-duty canvas option.
It’s large enough to protect big areas around your RV and works well both indoors and outdoors.
Plus, it’s machine-washable, making it a more cost-effective and eco-friendly choice compared to typical plastic covers.
It might sound like I’m overselling a simple drop cloth, but I genuinely believe in this product.
I always prefer environmentally friendly options, and I’ve used enough poor-quality covers to recognize a better one when I find it.
Choose a smarter solution and paint without worries.
Steps to Paint Your RV
Painting the outside of your RV might feel overwhelming, but it’s doable if you follow the right steps.
Start by cleaning and prepping the surface.
Wash your RV thoroughly with soap and water to get rid of dirt, grime, and any old wax.
Meguiar‘s works well for this job.
Once it’s dry, sand the surface to make it smooth.
Begin with rough sandpaper and slowly move to finer grit for the best results.
Next, cover the windows and trim. Use FrogTape to protect areas like vents and windows.
Lay down a drop cloth over the spots you don’t want to paint by mistake.
Apply a primer.
If your RV’s exterior is fiberglass or metal, make sure to use a suitable primer.
This will help the paint stick better and last longer.
Now, it’s time to paint! Use quality rollers—Pro-grade rollers are a good choice.
You’ll need at least two coats. Paint the first layer, let it dry, and then apply the second.
You can add extra coats if you want more coverage.
Finish off with a clear coat.
Once you’re satisfied with the paint job, add a clear coat to protect it from UV damage and weather.
This will keep your RV looking good for longer, delaying the need for another paint job.
Final Thoughts
And that’s it! A bit of know-how goes a long way with bigger projects like this.
I hope you’re feeling inspired and ready to pick up those brushes! If you’re still unsure, you might think about hiring professionals.
But come on, don’t do that.
Living the RV life is all about freedom and doing things your way.
It’s about finding solutions on your own and loving the adventure.
So, no need to spend thousands on professional painters.
Go the DIY route! Become the maintenance expert you’ve always wanted to be.
The first time you paint the outside of an RV, it might not be perfect.
There will be slip-ups and frustrations, but you’ll get better with each try.
Those little imperfections are just part of the adventure, and in the end, you’ll have the satisfaction of doing it yourself instead of paying $10,000 or more for a quick paint job.
Keep that money for road trips instead. Create memories, not bills.
Just be sure to get the right tools.
Painting is already a big job, so get yourself set up properly and paint without stress, like a pro.
Happy Painting.

